Provide APIs
In the Api Store, providing APIs is a process that allows you to expose your services to other users or applications, free or paid. This process involves several key steps.
API Creation
The first step in providing APIs is their creation. This involves defining the API’s endpoints, request/response formats, and other necessary details. The API can be designed to provide various types of services, such as data retrieval, data manipulation, or performing specific functions.
API Documentation
Once the API is created, it’s important to document its usage. This includes details about the API’s functionality, its endpoints, how to make requests, what responses to expect, and any error codes that might be returned. Good documentation is crucial for users to understand how to use the API effectively.
API Versioning
APIs in the Api Store are versioned. This means that when substantial changes are made to the API, a new version is released. This allows users to continue using an older version if they wish, while also having the option to switch to the newer version. Each version of the API is clearly marked in the Api Store.
API Subscription
Before users can start using an API, they need to subscribe to it. The Api Store provides different subscription tiers, allowing users to choose the one that best fits their needs. Once a user subscribes to an API, they will define an API key or access token, which is used to authenticate their API calls.
Important
By providing APIs in the Api Store, developers can reach a wider audience, increase the usage of their services and earn money.
You have an API and want to provide it to a large audience. The entire process is quite straightforward.
Domains
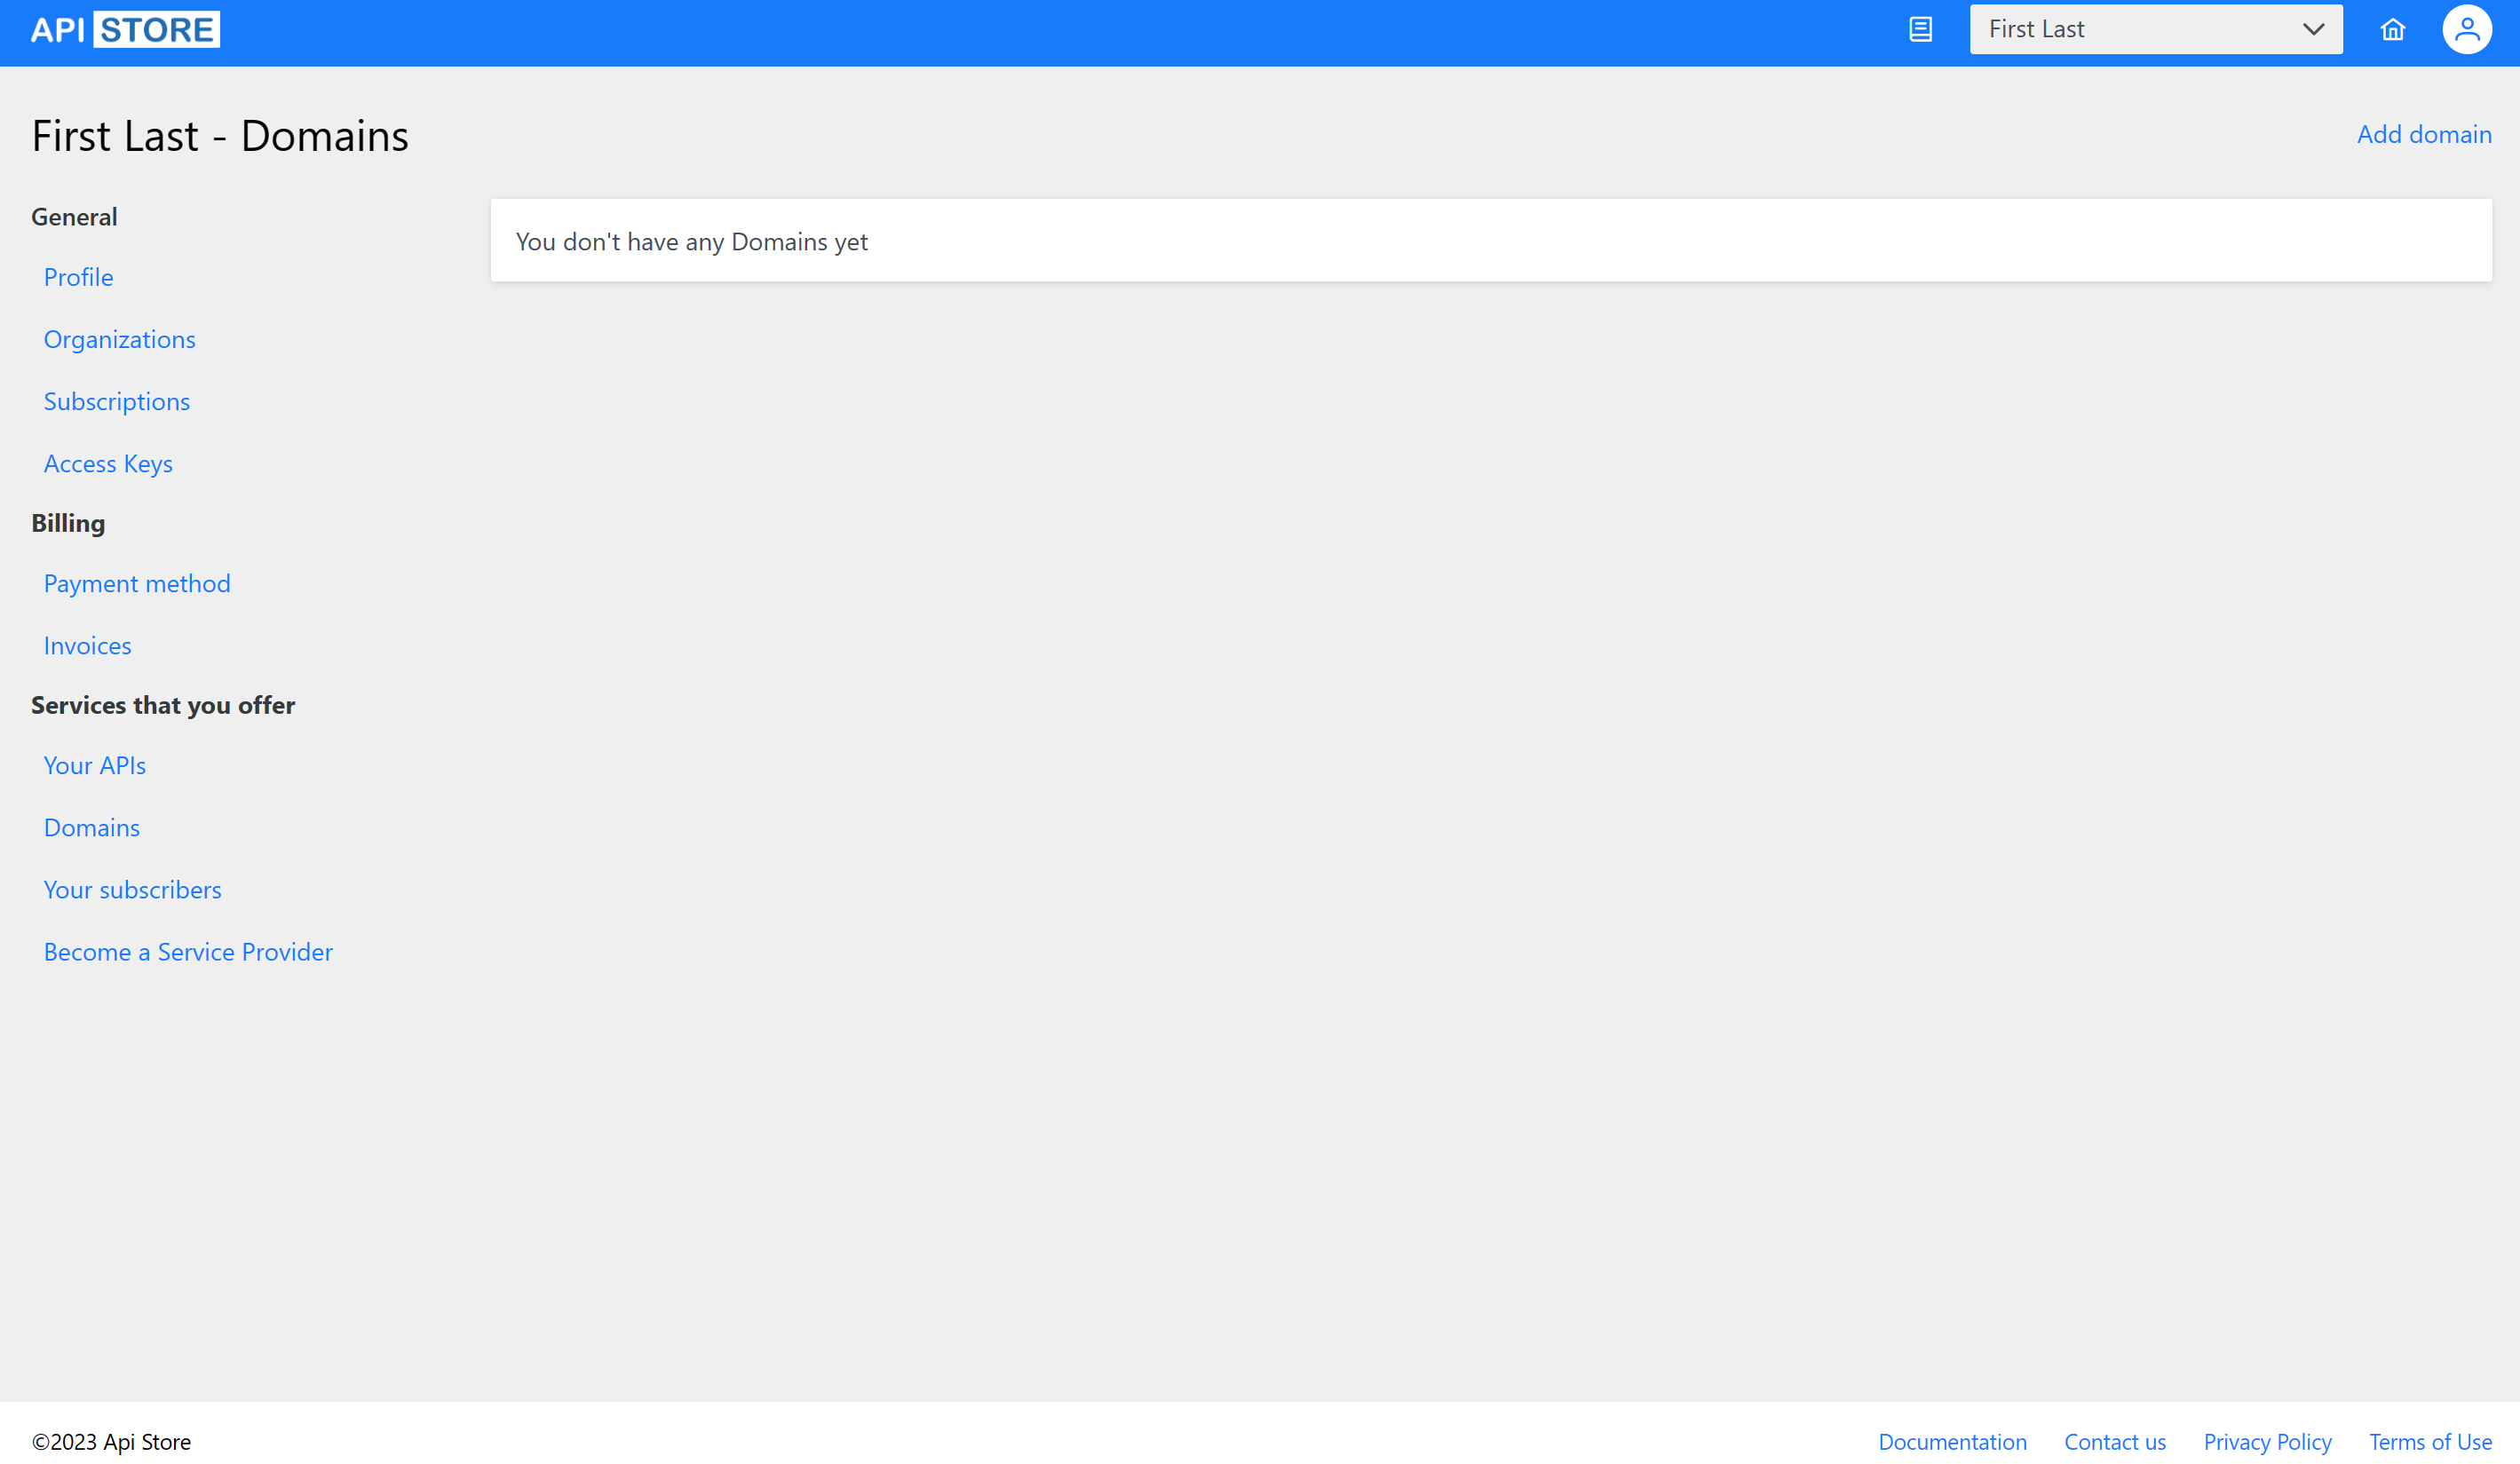
Let’s say that you have an API that is not public and it’s available for your internal use at https://mydomain.com/myapi. The first step is to verify that you own this domain. In order to do that you would need to navigate to “Domains” page and add it:
Enter the domain name:
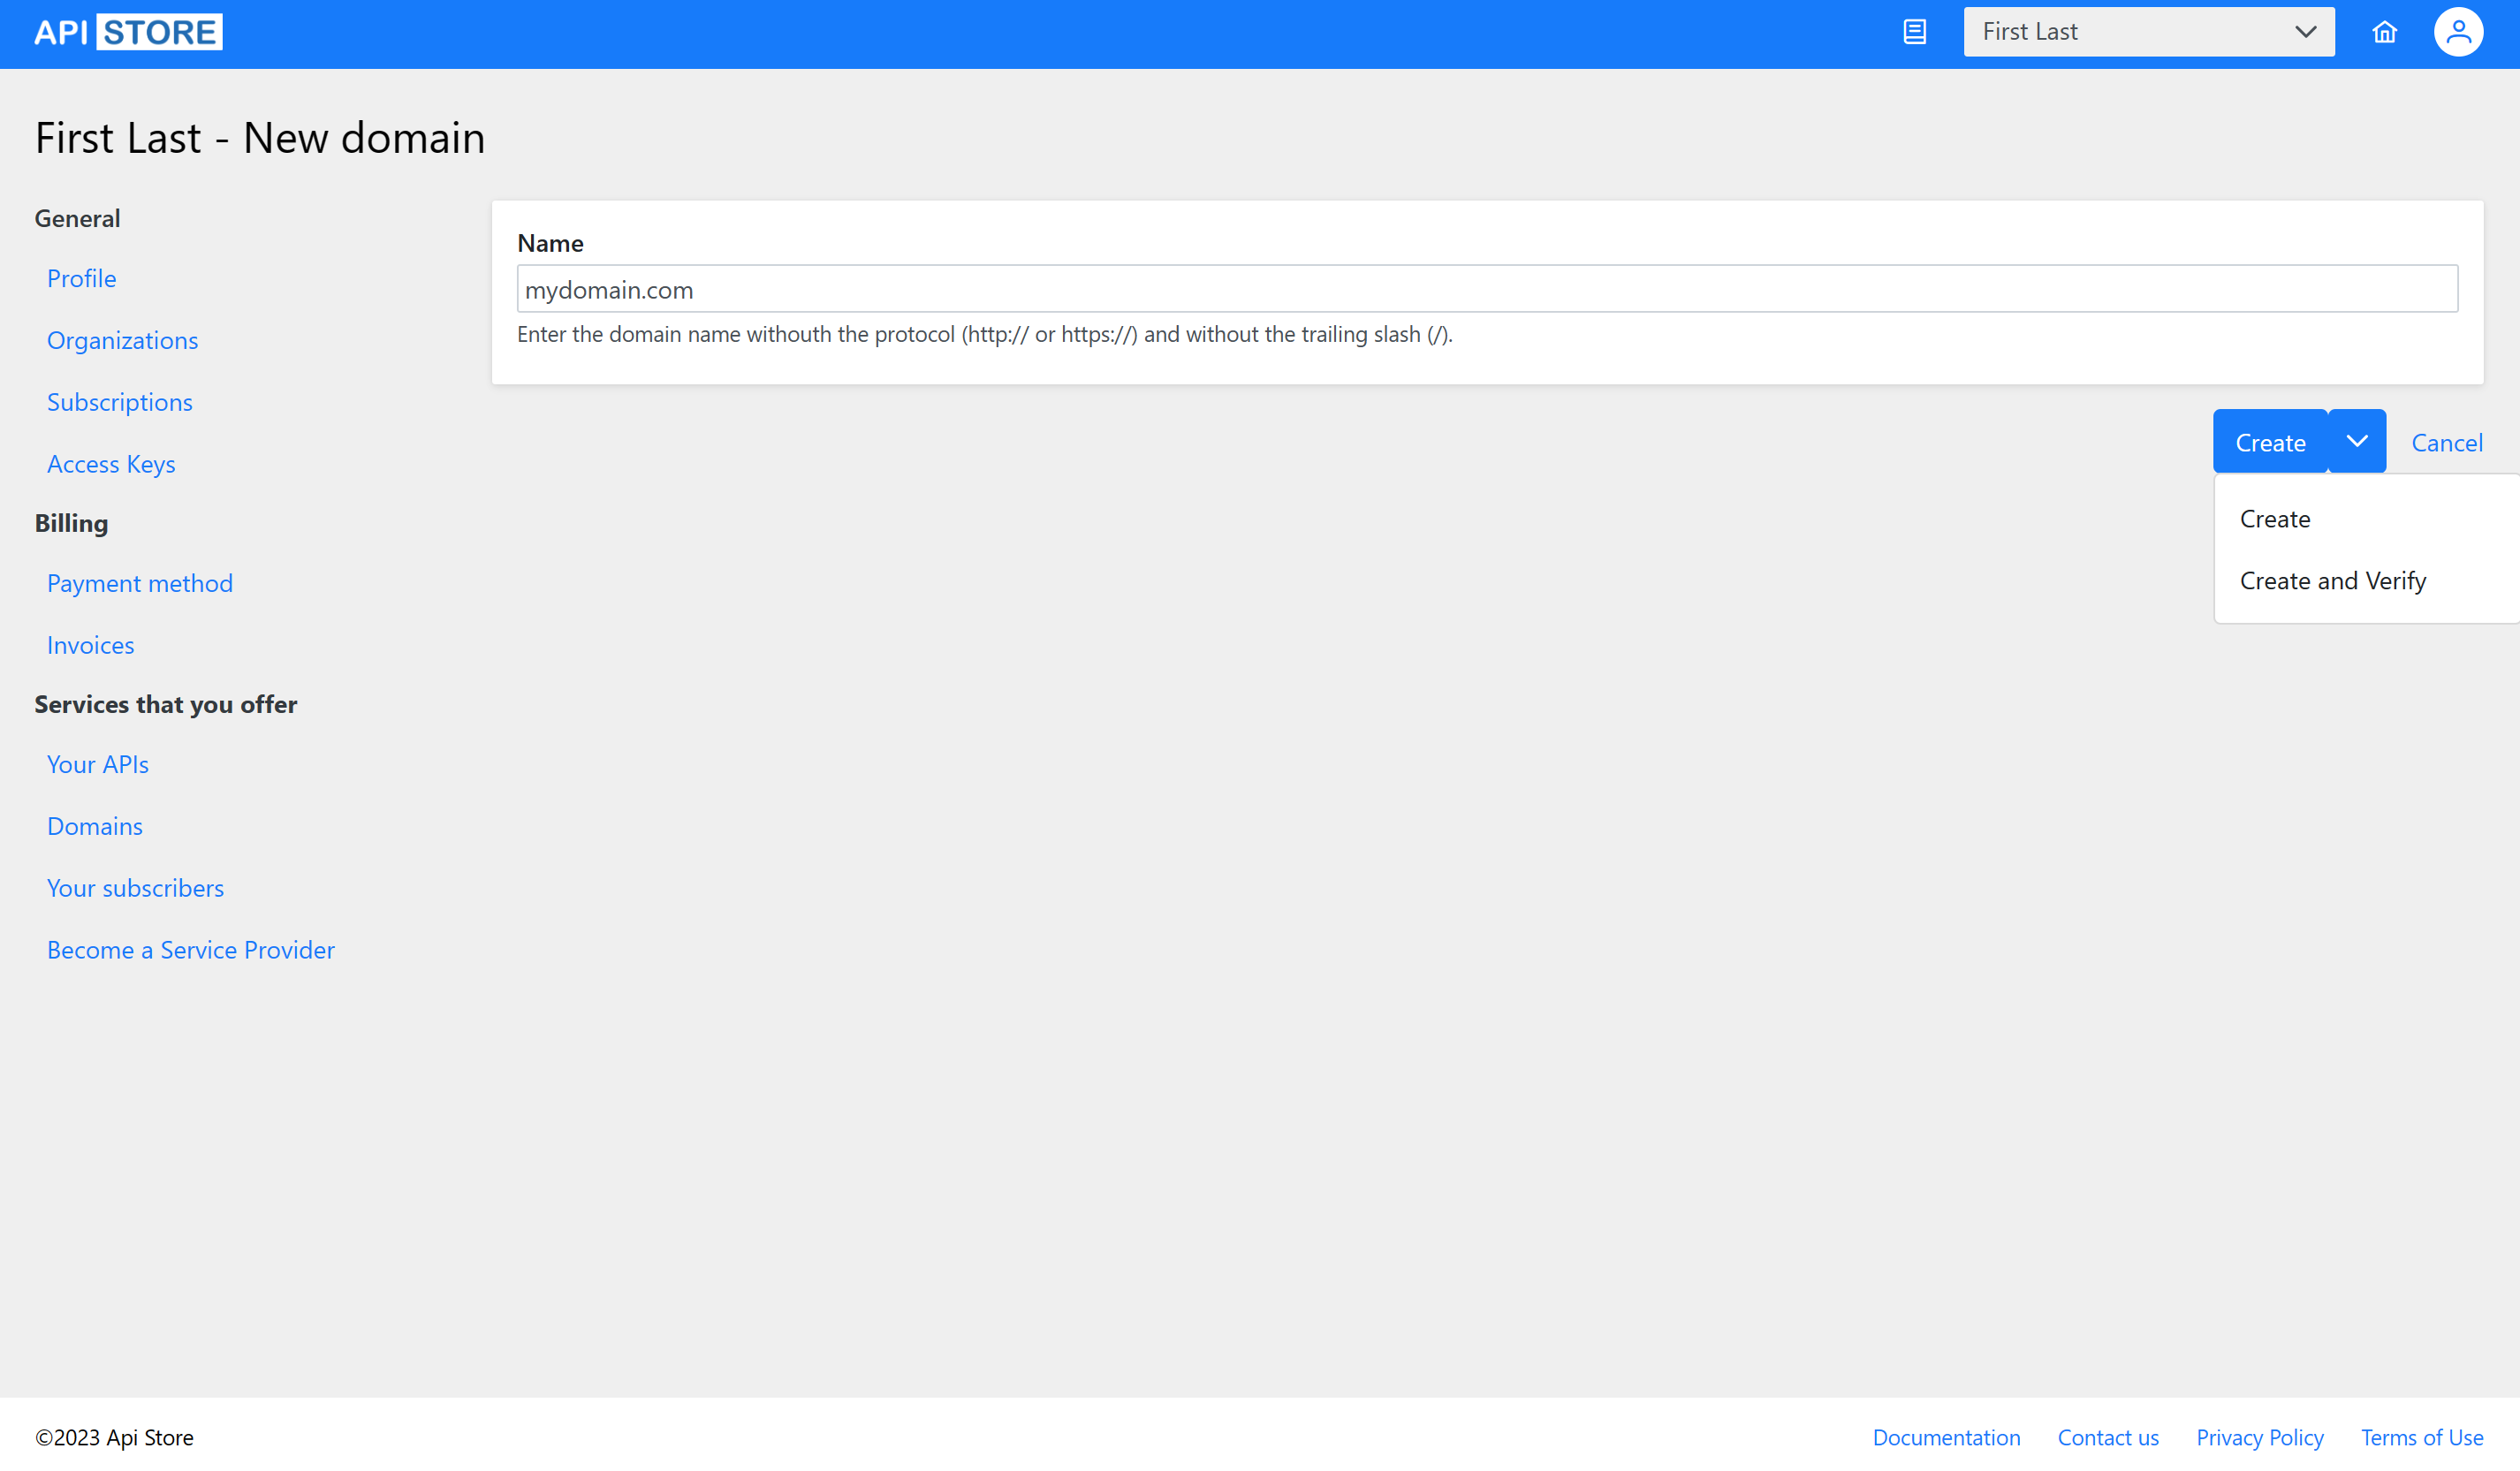
Once you’ve entered the domain name you have the options to Create or Create and Verify. If you choose Create, the system will save it and it will be available to be verified later.
If you choose Create and Verify or come back later and click Edit, you would see this screen:
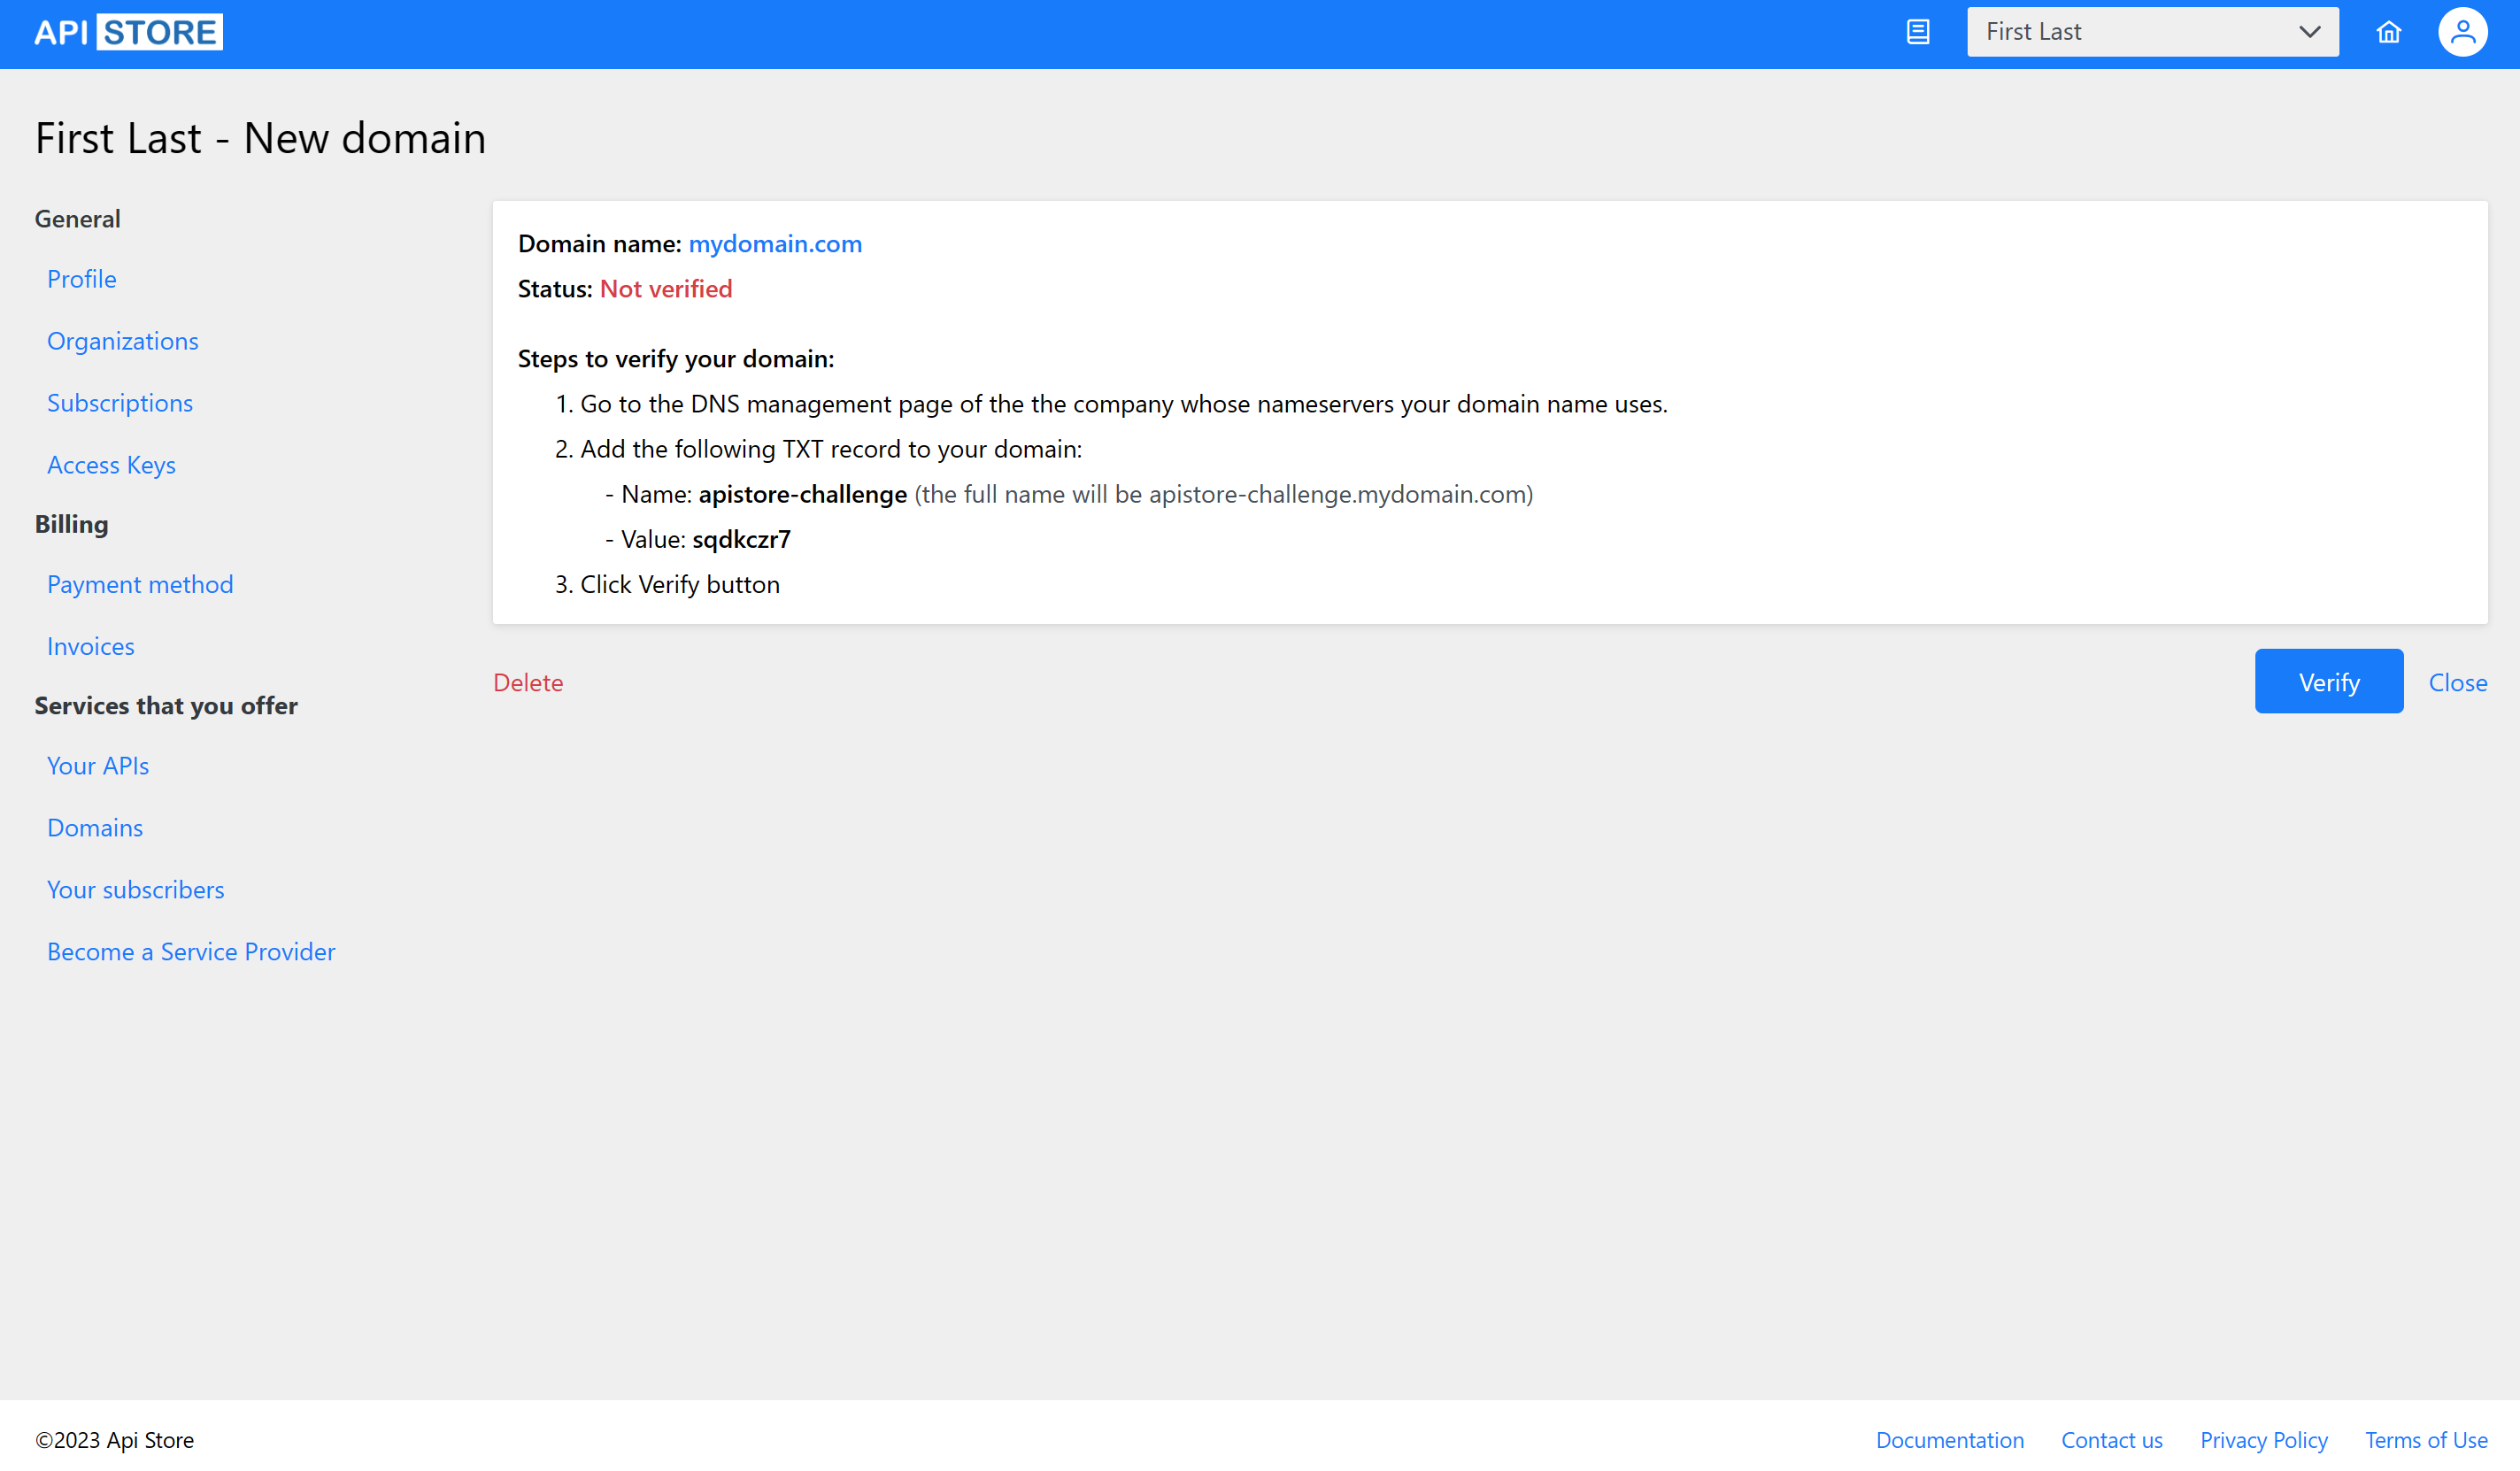
As mentioned in the screen above there are three steps that you will need to perform in order to get the domain validated:
- Go to the DNS management page of the the company whose nameservers your domain name uses.
- Add the TXT record to your domain:
- Name: apistore_challenge
- Value - will be displayed on the screen
- After you’ve done step 1 and 2 - click Verify
If you’ve done everything correctly, this domain will show the status as Verified
Important
It may take some time for DNS to propagate. If you did all the steps and still don't see the Verified status, wait some time and come back to this screen a click Verify again.
For some providers it may take up to 24 hours for DNS records to propagate.
API
Now, it’s time to configure and publish your API. In order to do that, navigate to Your APIs on main page. If this is your first API, you will see this screen:
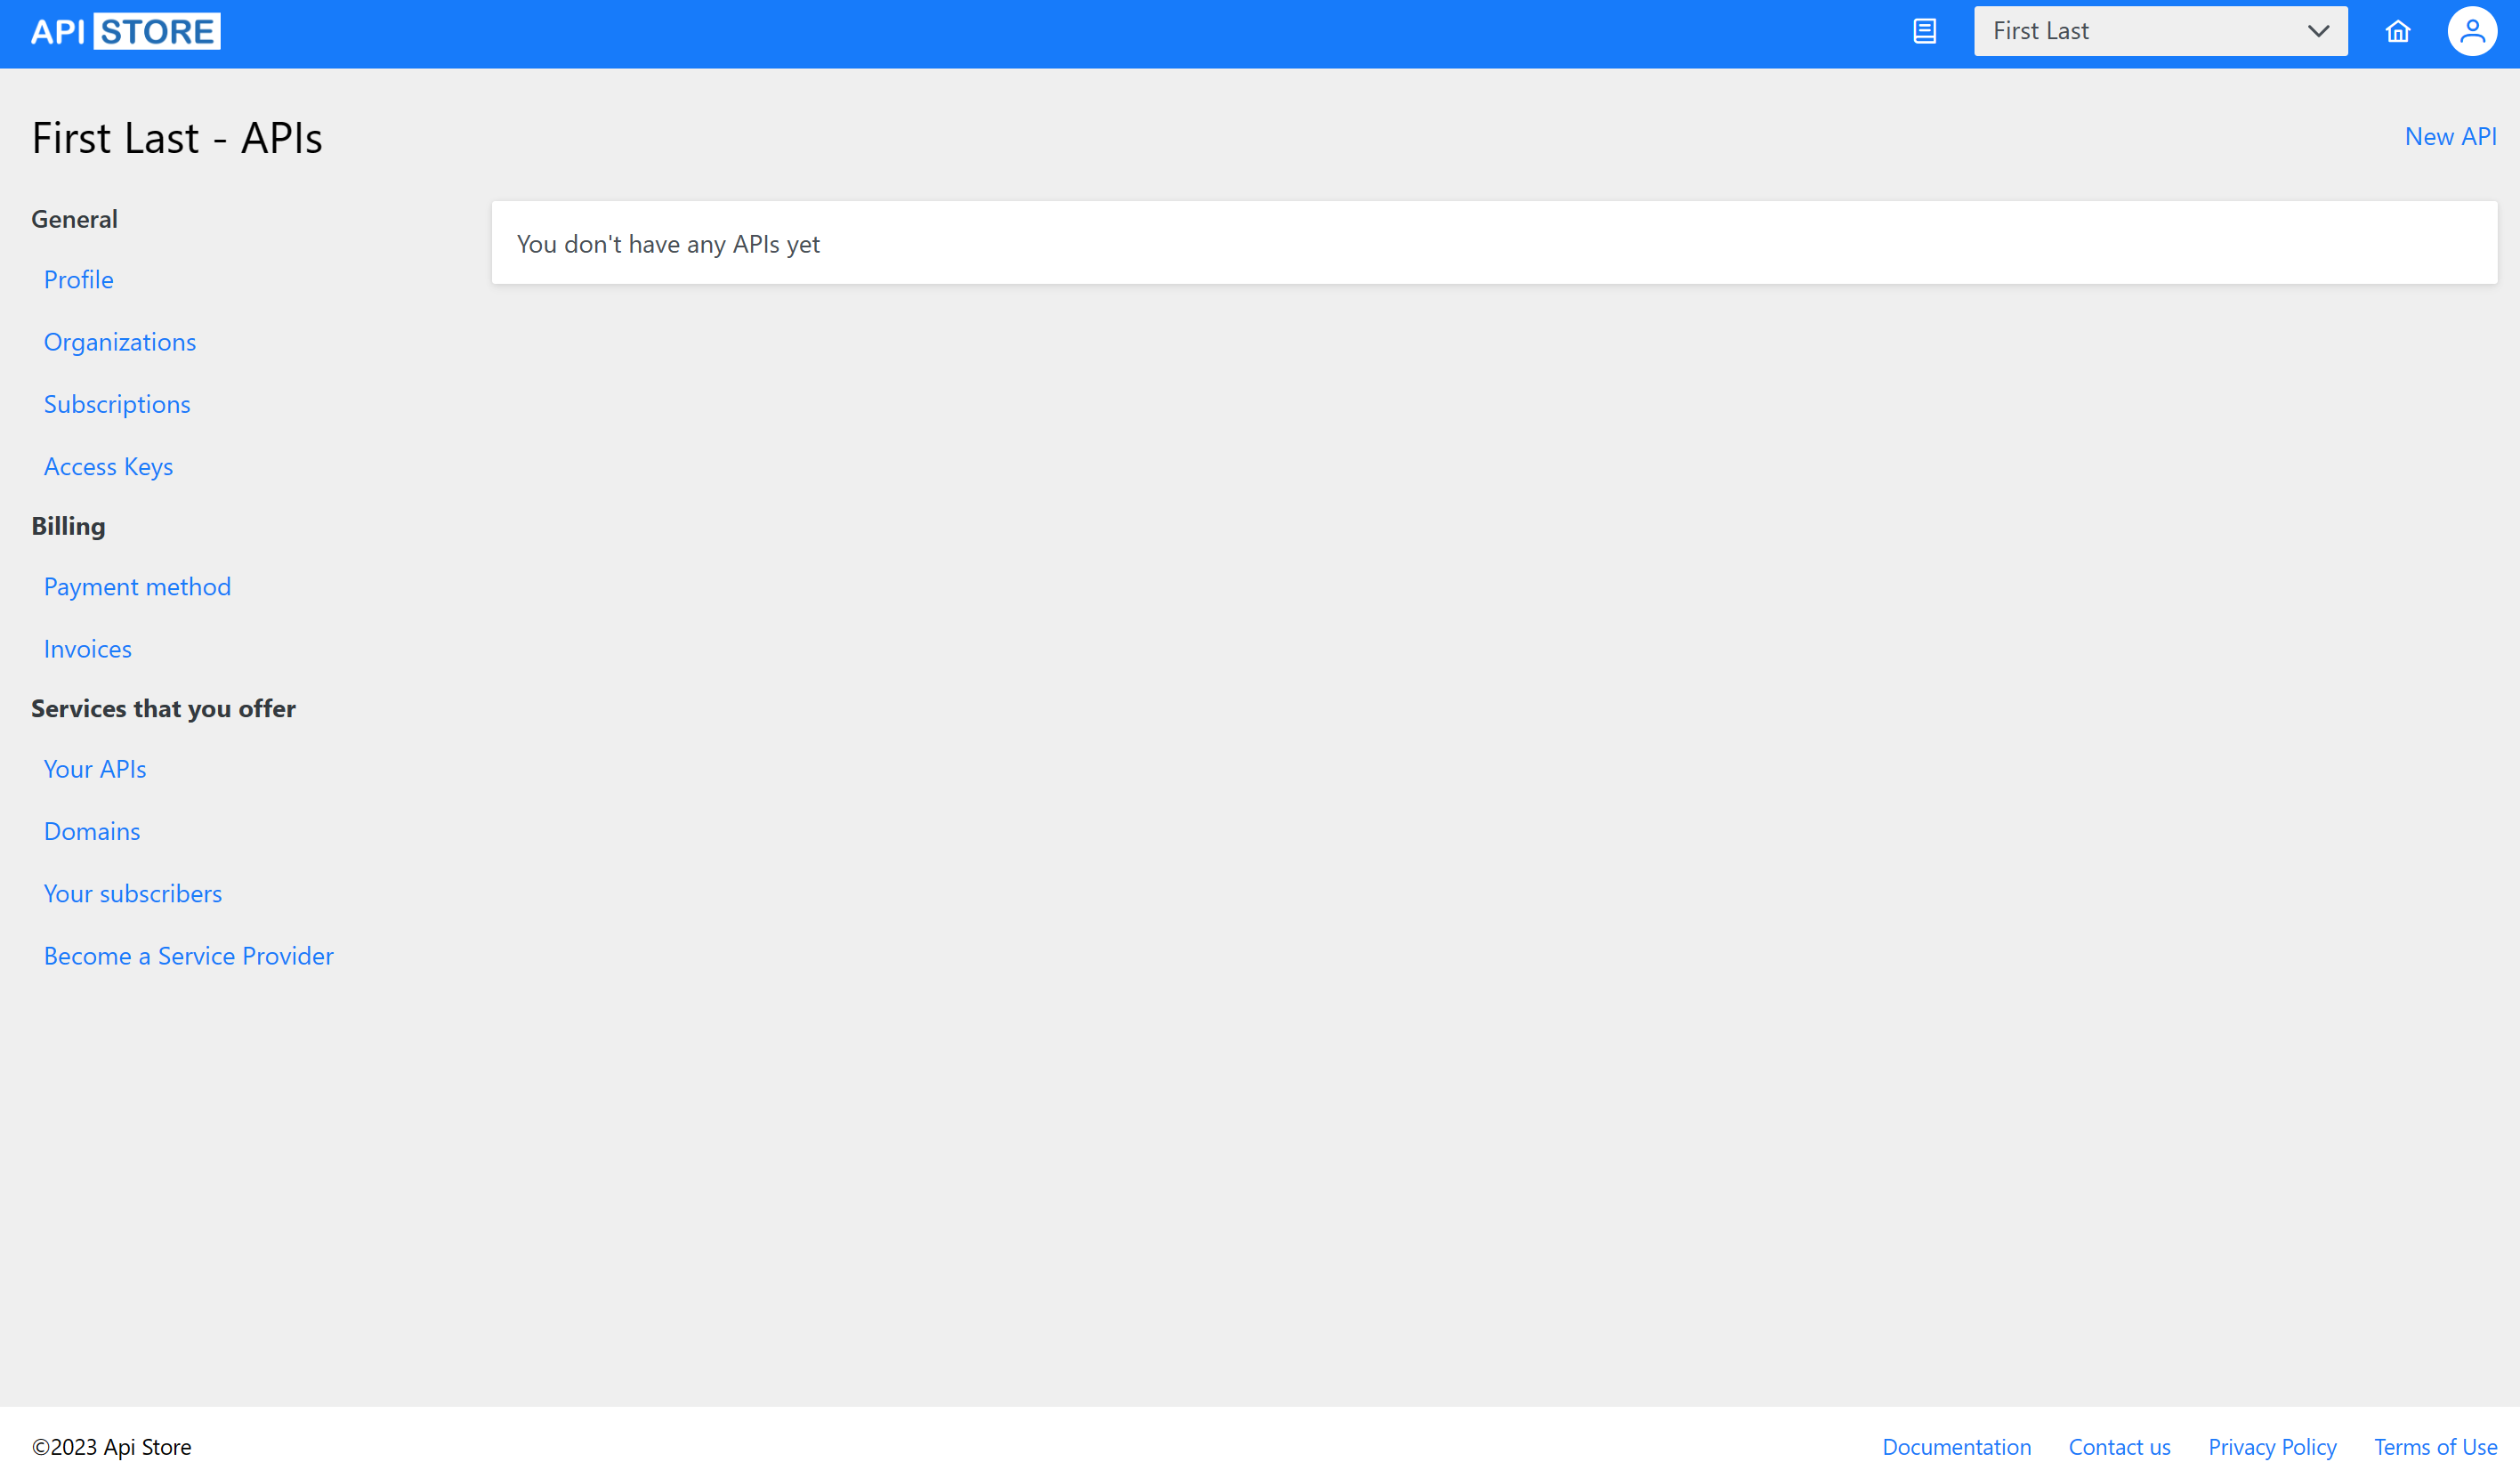
Click on New API:
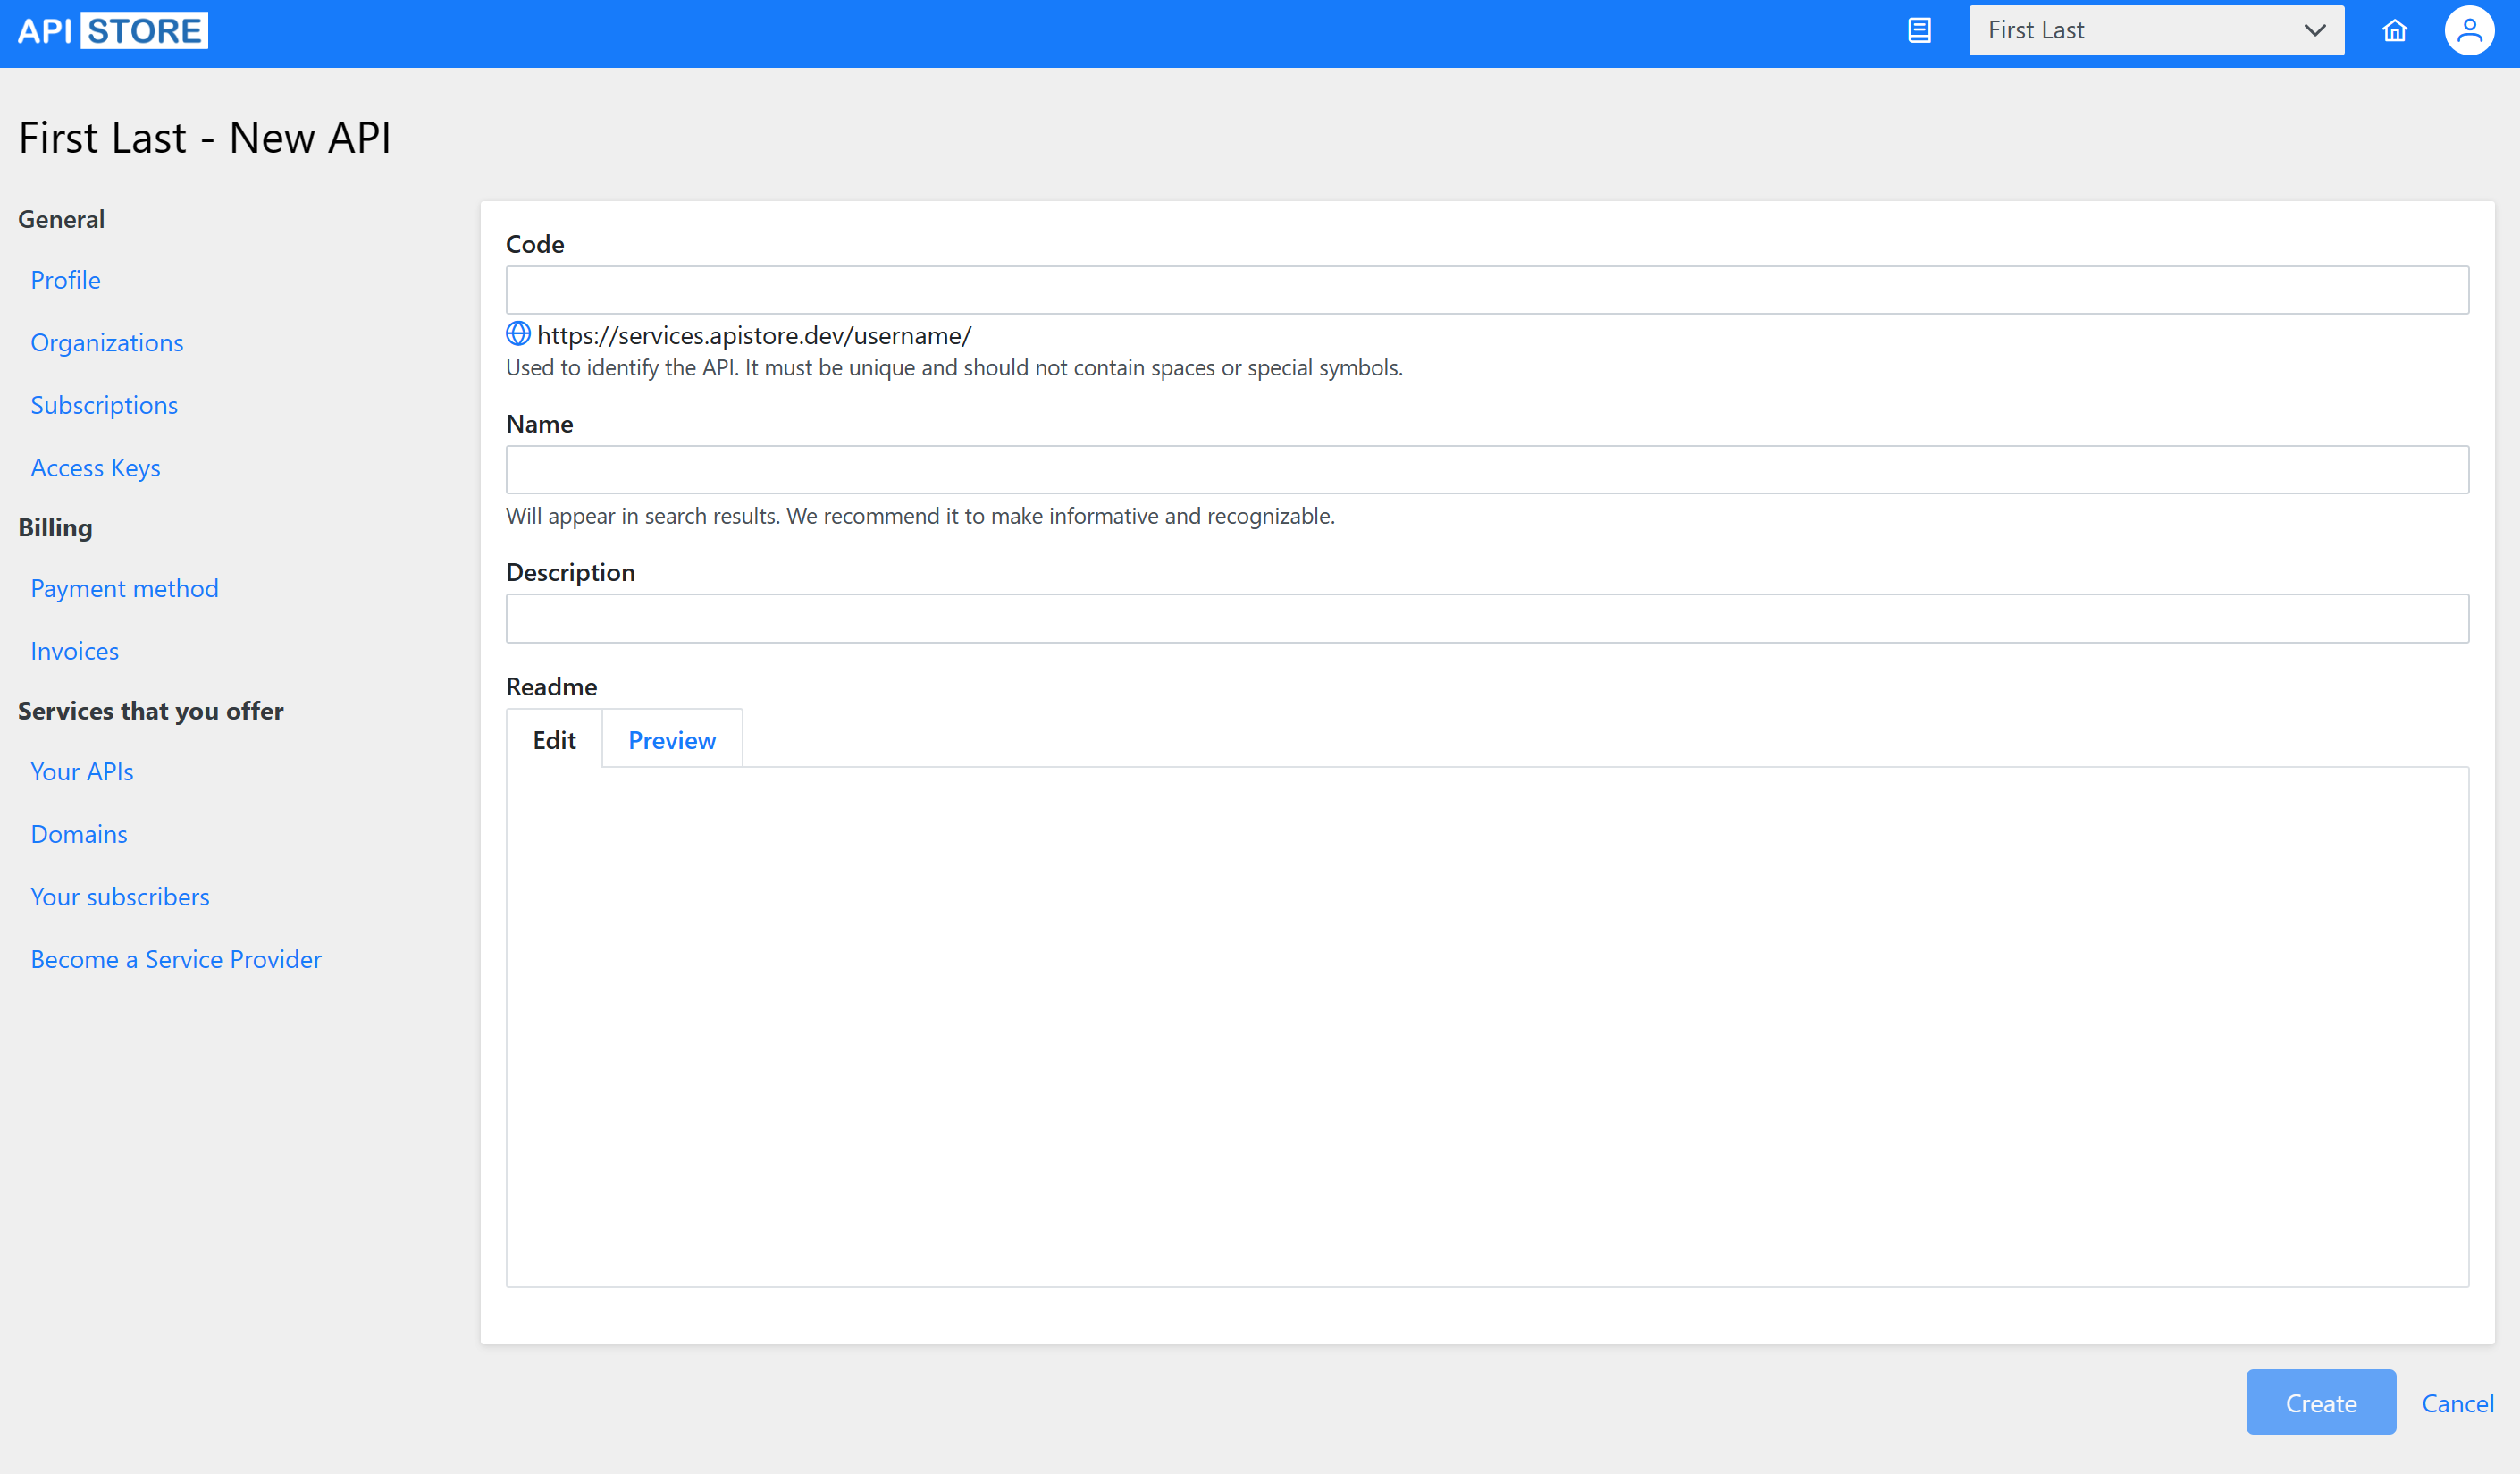
Add the Code, Name and a short optional Description.
You can also add a Readme, which supports Markdown language.
Navigate to Versions menu:
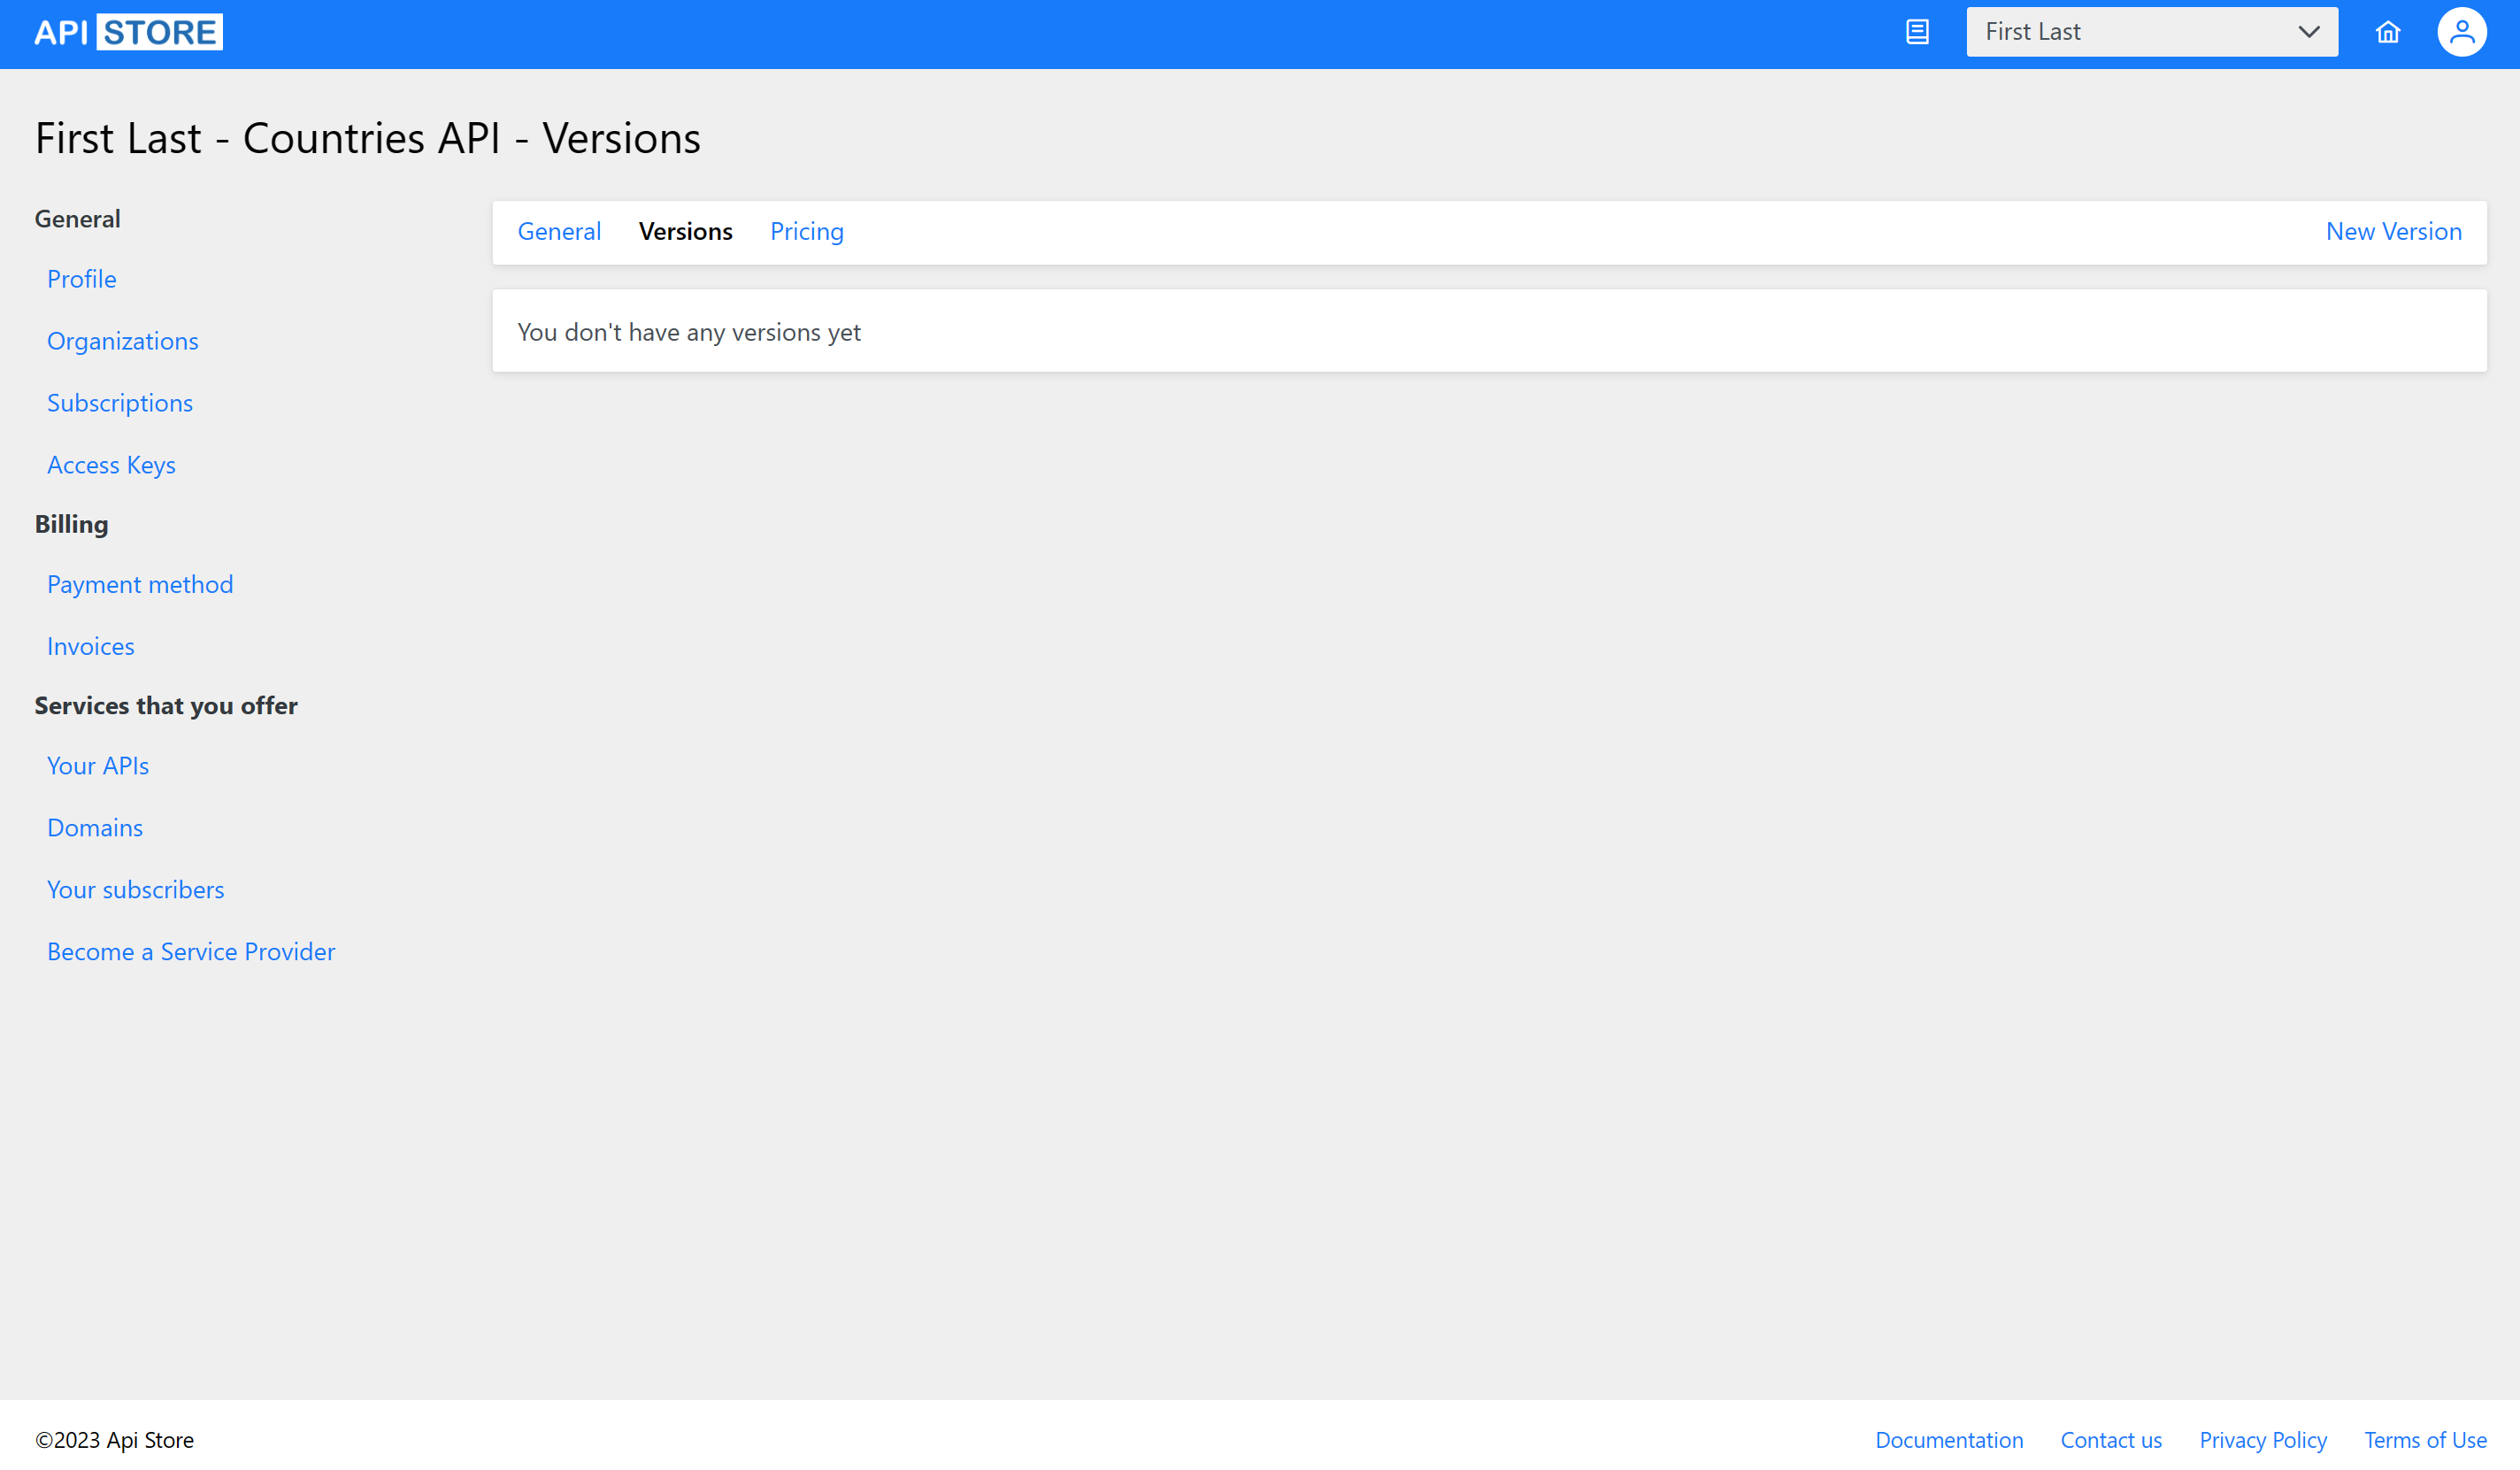
Add a new Version:
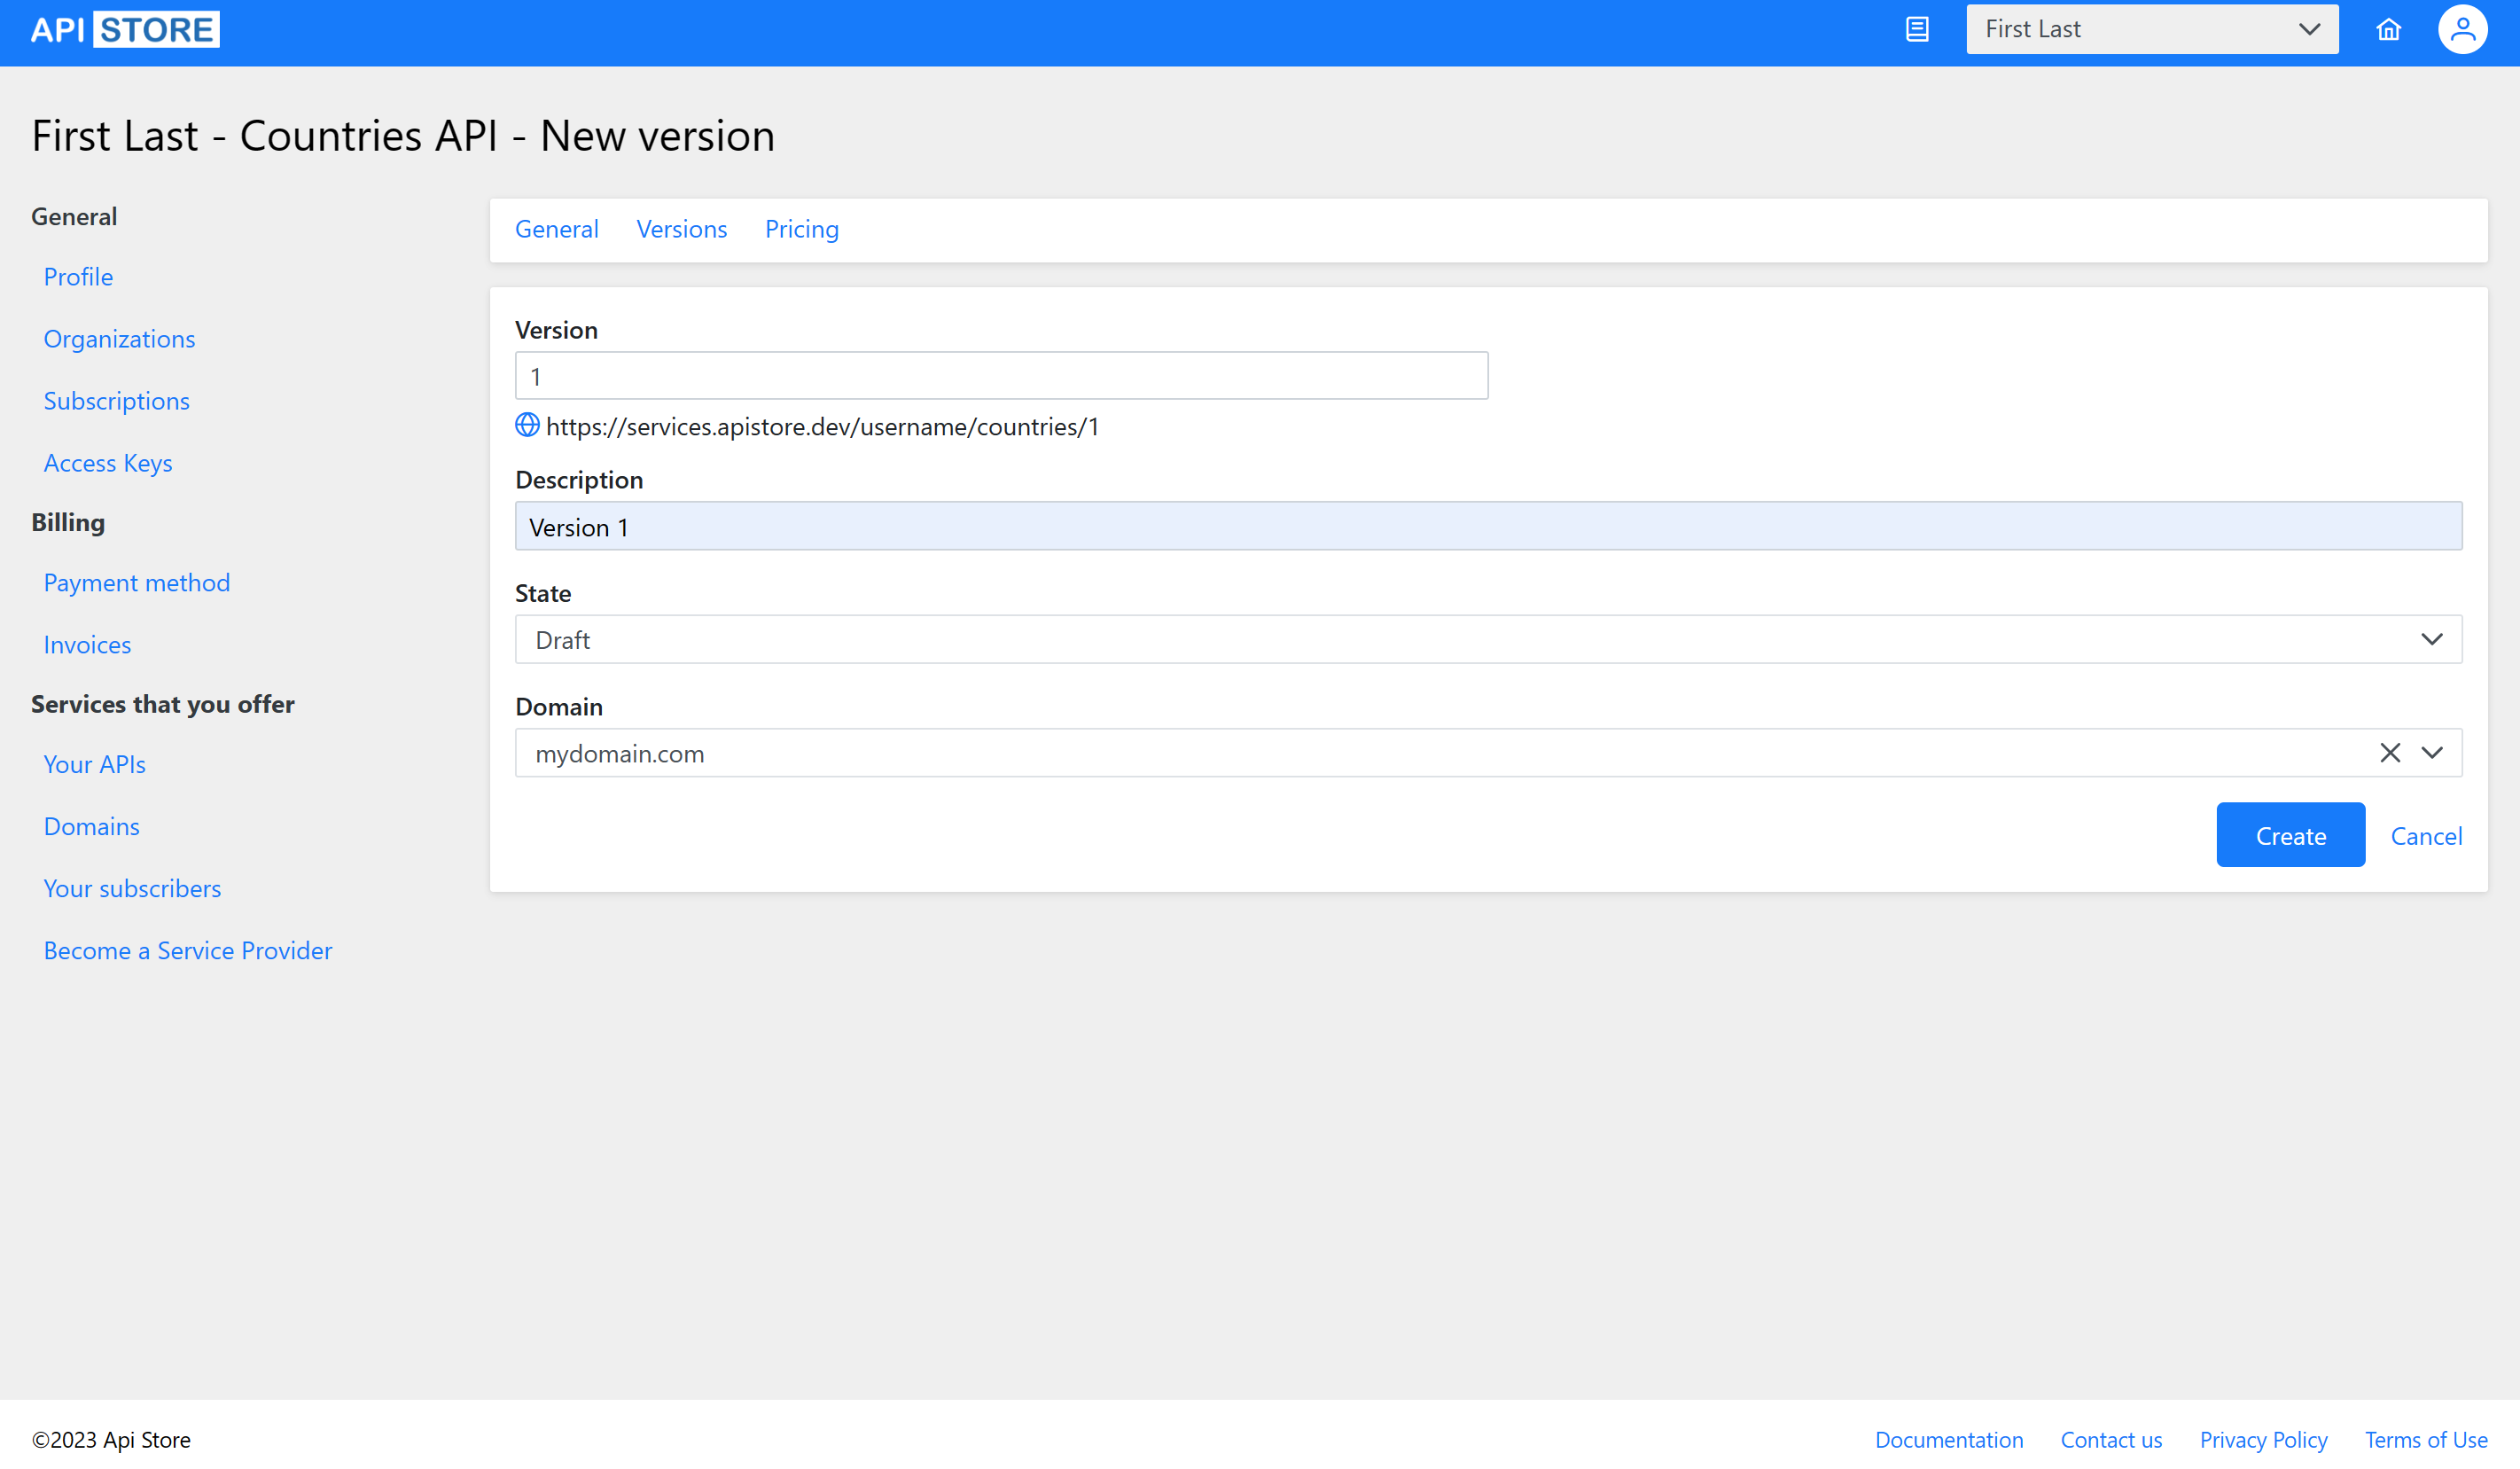
Now you see this screen, with the options to add your API methods and documentation:
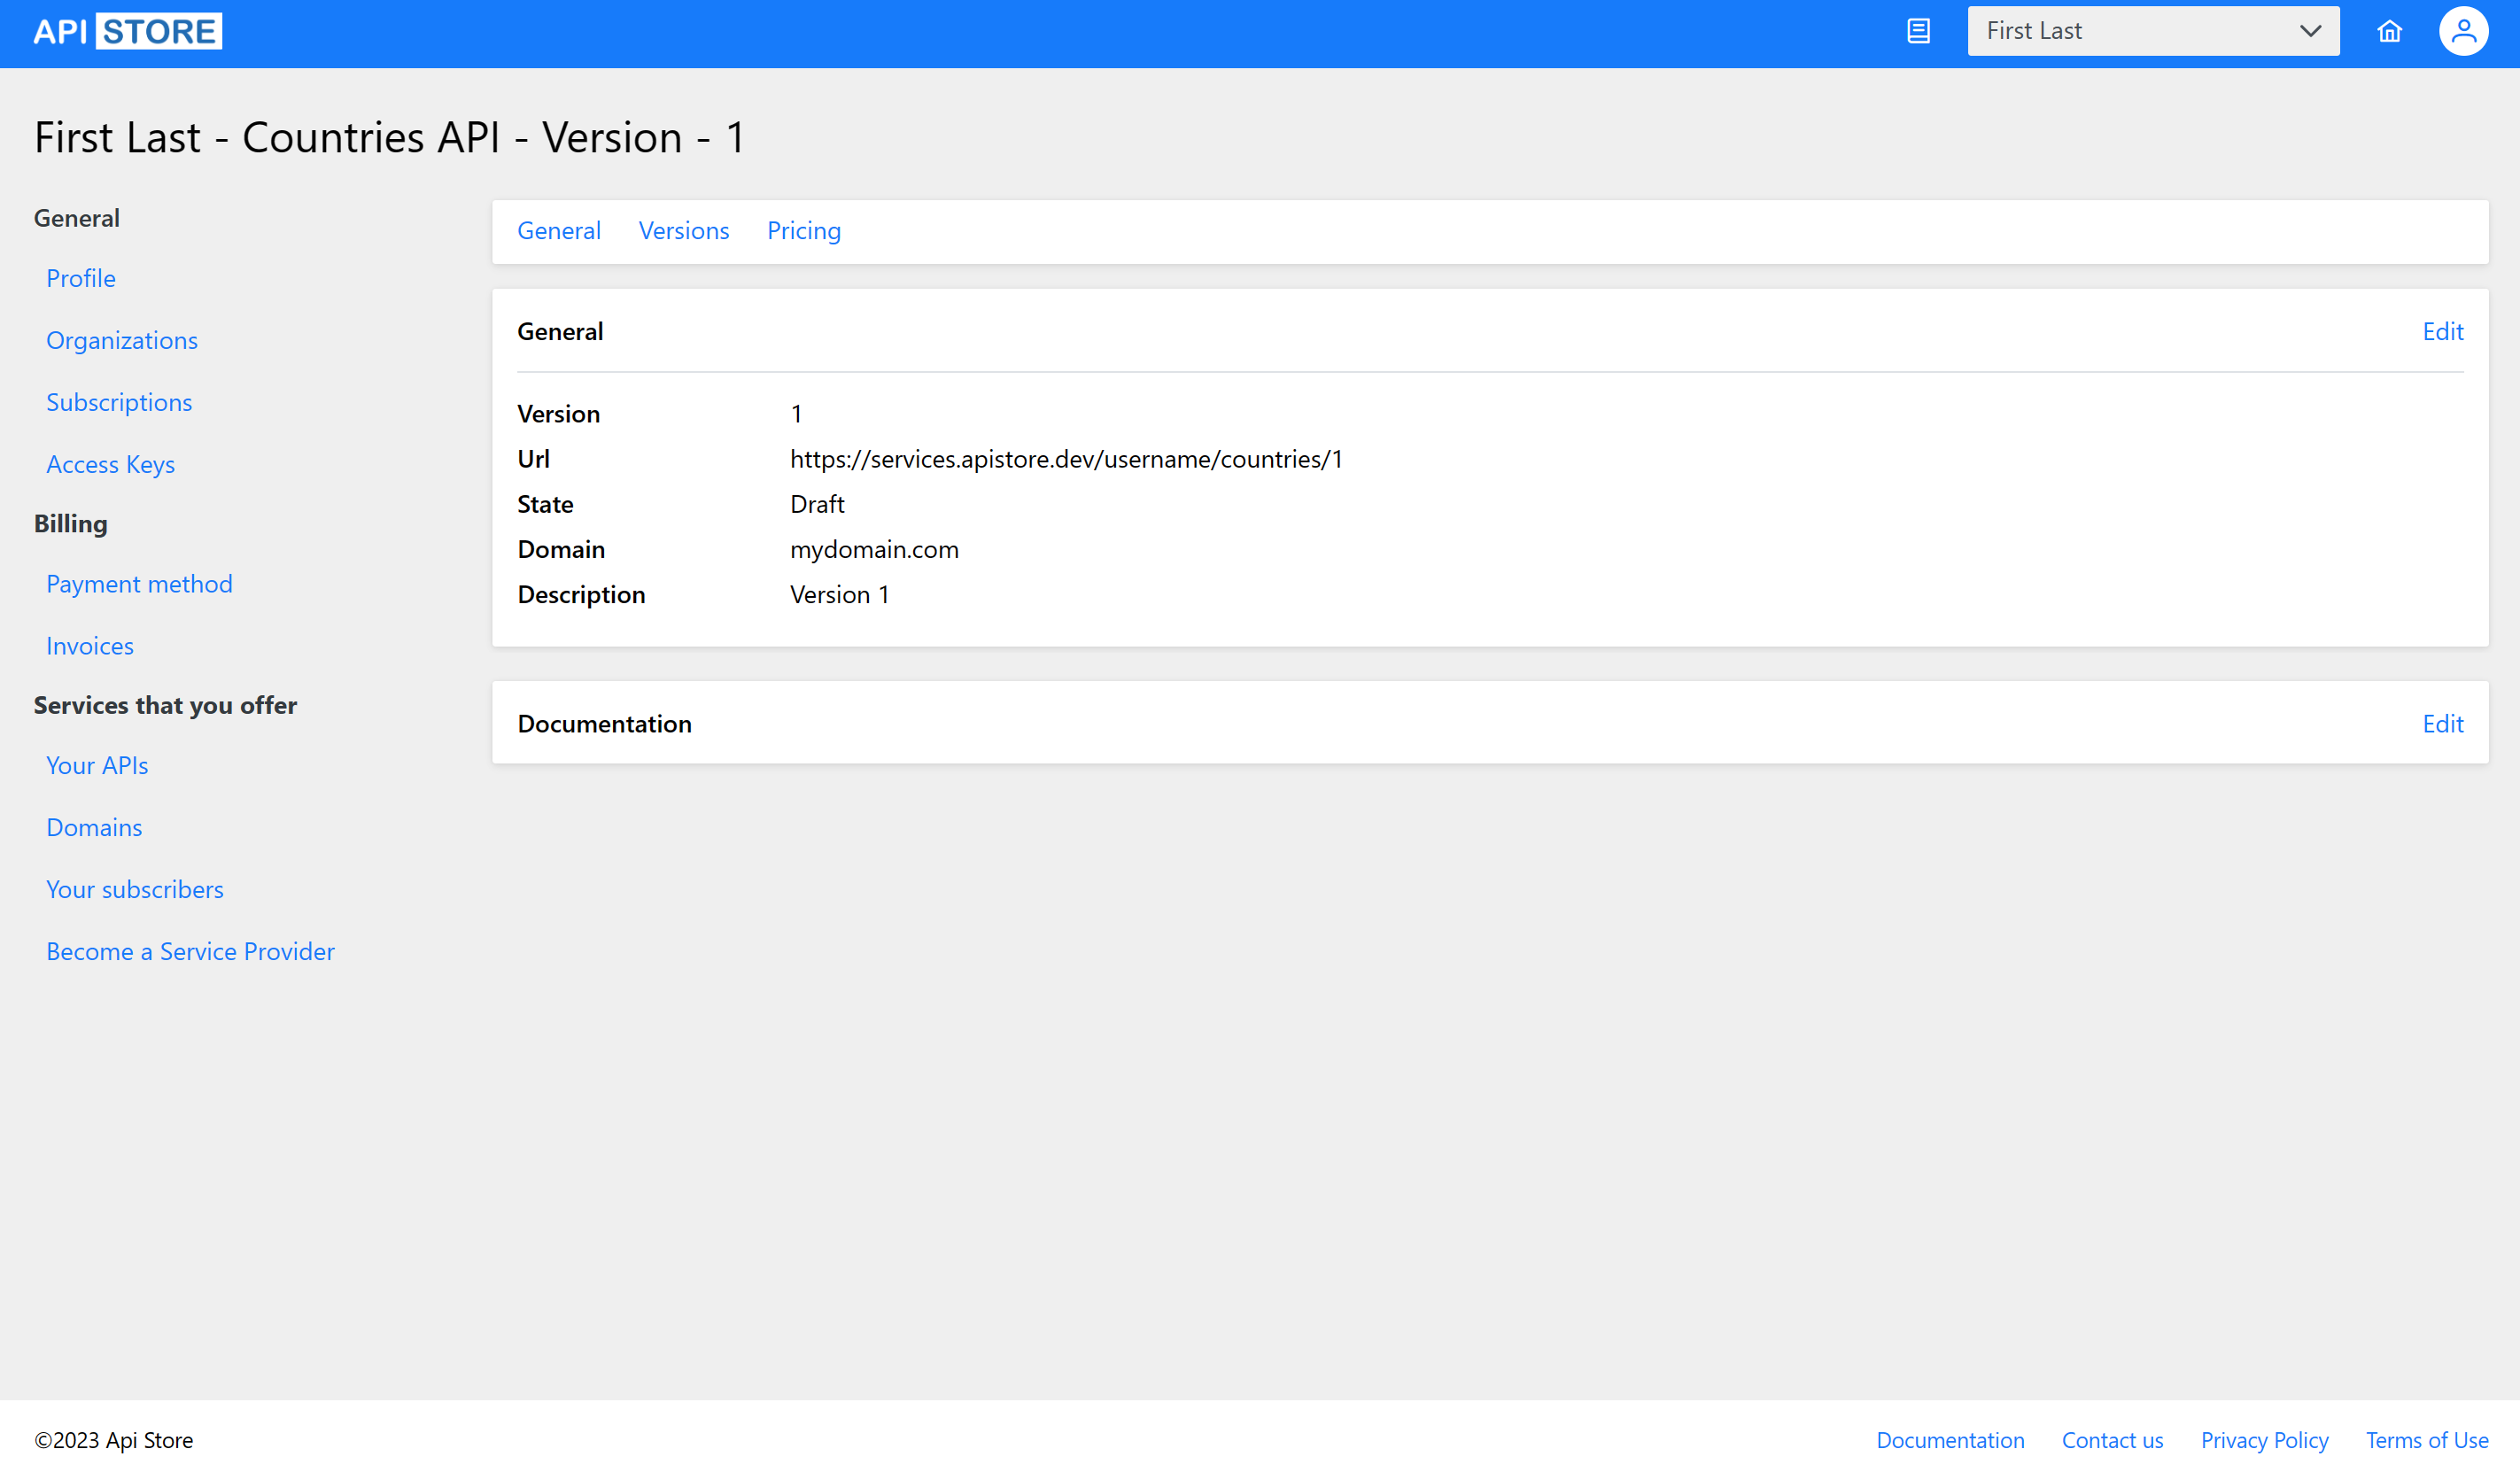
Your API can contain one or many methods. It supports Get, Post, Put, Patch and Delete verbs with json bodies.